
Caching in Spring Boot
Spring Boot supports the following Cache Providers and Redis is the most widely used. We will be focussing on Redis in this article
- Generic
- JCache (JSR-107) (EhCache 3, Hazelcast, Infinispan, and others)
- EhCache 2.x
- Hazelcast
- Infinispan
- Couchbase
- Redis
- Caffeine
- Simple
What is Redis?
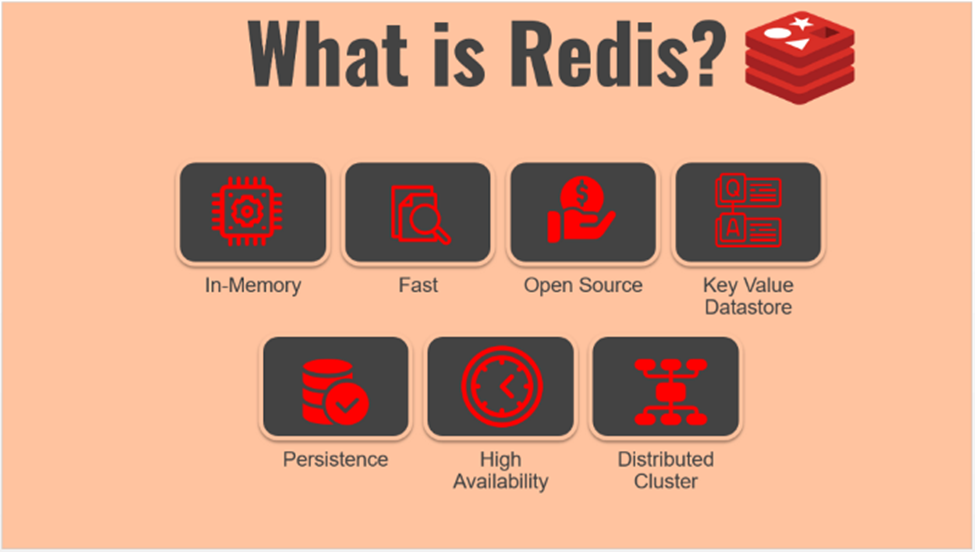
Redis is an In-Memory distributed cache that is super fast, highly scalable, and widely used by cloud providers like AWS ElastiCache, Azure, GCP, etc. It works by the concept of No-SQL DB, which does not need a predefined schema. It is just a Key-Value store that uses data structures like Strings, Lists, Sets, Sorted Sets, Hashes, Streams, HyperLogLogs, Bitmaps, etc.
The major difference with other NoSQL DB is that those DBs stored data in a Disk memory as the database is huge whereas Redis uses the Cache Memory(L1, L2, and L3). Hence the data stored in Redis is relatively smaller when compared to the NoSQL DB like Mongo, and Cassandra. Since the data is stored In-Memory of the server and the data size is small, we can access the data inside Redis in Microseconds.
No matter what data type we use for Redis, everything is saved inside the hash tables (Redis Hash) as it is a key-value store and works by hashing.
Spring Data
Spring Data is a high-level SpringSourceumbrella project, which provides unification and abstraction and helps us to connect to different persistence stores like relational database systems, NoSQL data stores, data access technologies, map-reduce frameworks, and cloud-based data services
The main modules developed under this project are as follows
- Spring Data Commons
- Spring Data JDBC
- Spring Data JDBC Ext
- Spring Data JPA
- Spring Data KeyValue
- Spring Data LDAP
- Spring Data MongoDB
- Spring Data Redis
- Spring Data REST
- Spring Data for Apache Cassandra
- Spring Data for Apache Geode
- Spring Data for VMware Tanzu GemFire
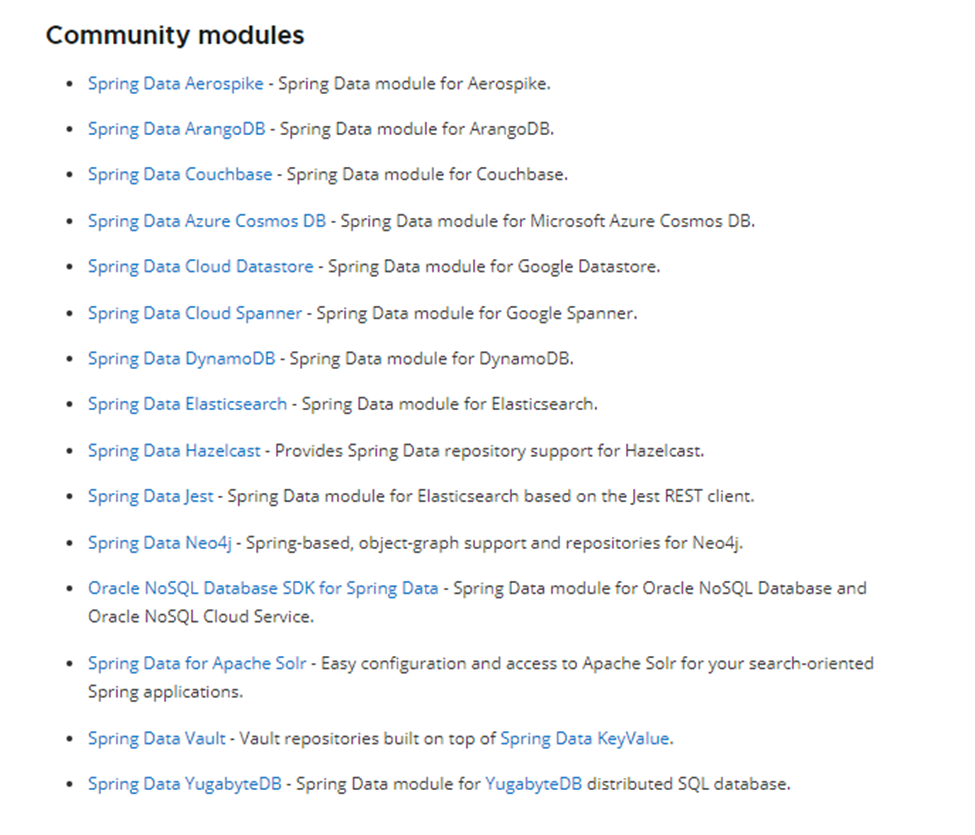
There are a lot of community models as well. Please refer to this link https://spring.io/projects/spring-data to learn more about Spring Data
Spring Data Redis
Our focus will be on Spring Data Redis in this article.
Spring Data Redis provides easy configuration and quick access to Redis from Spring applications. It provides both low-level and high-level abstractions for interacting with Redis and helps developers to focus on the convention rather than the configurations. With this, we can use the common patterns of Spring Data and we can use Redis like connecting to any other database
Dependencies
Let us how to add the dependencies in Spring Boot
<dependency>
<groupId>org.springframework.data</groupId>
<artifactId>spring-data-redis</artifactId>
<version>2.7.1</version>
</dependency>
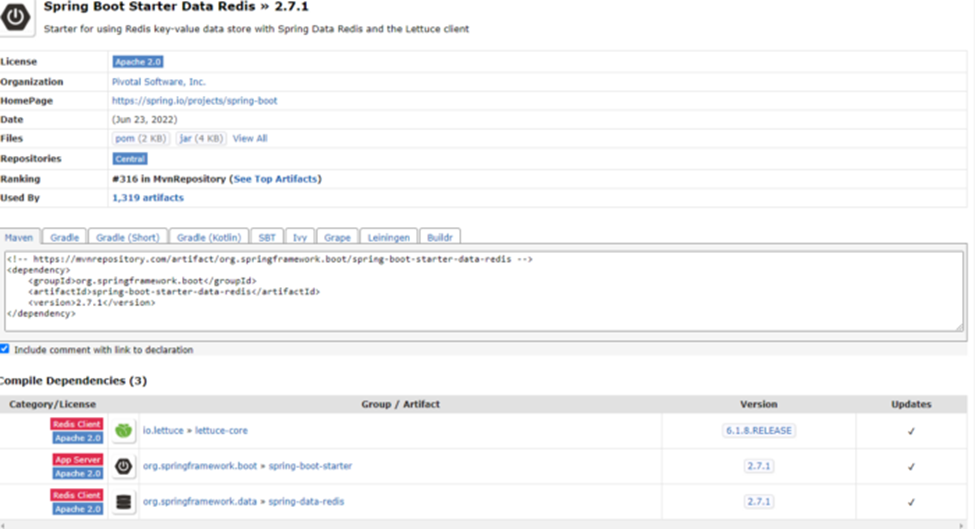
We need to add a Redis Client like Jedis or Lettuce to connect to the Redis Server
Redis vs Lettuce
Lettuce supports synchronous, asynchronous, and reactive interfaces whereas Jedis are synchronous and a Jedis connection is not thread-safe. Depending on the use case either one of them can be picked
Jedis Dependency
<dependency>
<groupId>redis.clients</groupId>
<artifactId>jedis</artifactId>
<version>4.2.3</version>
</dependency>
Lettuce Dependency
<dependency>
<groupId>redis.clients</groupId>
<artifactId>jedis</artifactId>
<version>3.3.0</version>
</dependency>
If you are going for the Lettuce client, you can go for a single step by adding the Spring-boot-starter-data-redis as it includes the Lettuce client by default
Redis with Spring Boot
Configuration
We are going to focus on the Jedis client in this article. Let us see the configurations needed
- JedisConnectionFactory
We need to add the JedisConnectionFactory bean and supply the hostname and port of the Redis server. These values can be passed from the property files on runtime as well. During server start, the Spring Boot application will create a few Redis connections (similar to DB connections) and store them in the Server Connection pool for reusing it later when requests come.
@Bean
JedisConnectionFactory jedisConnectionFactory() {
JedisConnectionFactory jedisConFactory = new JedisConnectionFactory();
jedisConFactory.setHostName(“localhost”);
jedisConFactory.setPort(6379);
return jedisConFactory;
}
The Redis server can be quickly run using Docker. You just need to install Docker on your machine and run the following command
docker run redis
The above command will pull the Redis docker image from DockerHub and runs the Redis server locally in the port 6379
2. RedisTemplate
We need to use the RedisTemplate using the jedisConnectionFactory created above. This can be used for querying data with a custom repository.
@Bean
public RedisTemplate<String, Object> redisTemplate() {
RedisTemplate<String, Object> template = new RedisTemplate<>();
template.setConnectionFactory(jedisConnectionFactory());
return template;
}
Entity and Repository
Now lets us create an Entity and a Repository for the Entity. The entity for Redis is exactly the same as any other Entity. The only difference is RedisHash annotation which marks Objects as aggregate roots to be stored in a Redis hash. A Redis hash is a data type that represents a mapping between a string field and a string value
@RedisHash(“User”)
@Getter
@Setter
public class Student implements Serializable {
private String userId;
private String name;
private int age;
}
The repository to be created is as follows. This is similar to the Spring Data JPA repository class
@Repository public interface UserRepository extends CrudRepository<User, String> {}
Now, we can do CRUD operations on the User object as we do with any database.
User user = User().builder.id(“testUser”).name(“testName”).age(20).build(); userRepository.save(user);
Once we save the user object, it will be stored in the Redis server under the key “testUser”. We should be able to see the data using redis-cli. the key testUser will hold the User object we just saved
Time to Live (TTL)
In the above example, we saved the User object to Redis but we did not specify any TTL, which means the object will live forever in Redis. It is always good to set a TTL for every entry we put in Redis, so that it will be cleaned up when it is no longer needed.
@RedisHash(“User”)
@Getter
@Setter
public class Student implements Serializable {
private String userId;
private String name;
private int age;
@TimeToLive
Private Long expiration
}
Now let us set the value 86400 to the expiration field, which determines that the user object will expire in 24 hours from the moment we save the object to Redis. This is a very good use case for the JWT tokens to be stored in Redis and retrieved multiple times
User user = User().builder.id(“testUser”).name(“testName”).age(20).expiration(86400).build(); userRepository.save(user);
Now let us see how to do other operations like Get, Update and Delete
User user = userRepository.findById(“testUser”).get();
user.setName(“Updated User”);
userRepository.save(user);
userRepository.deleteById(user.getId());
The operations in Redis will take microseconds rather than a few seconds when we retrieve from DB because there is an extra DB call involved and retrieval in a database is slower than in Redis. For demonstration, we just a standalone Redis server in local, and in real-time it will be a distributed Redis cluster which is also called Distributed Caching
In this article, we saw the list of Cache providers supported by the Spring framework. Then we saw what is Redis, Spring Data, and Spring Data Redis. Then we explored the dependency, configuration, and code to make the Spring Boot application connect to a local stand-alone Redis server.
Hope you have learned something useful from this article and thanks for reading this !!.
I work as a freelance Architect at Ontoborn, who are experts in putting together a team needed for building your product. This article was originally published on my personal blog.